Hey there! As a sandpaper abrasive supplier, I've seen firsthand how important it is to sand a small area precisely. Whether you're a DIY enthusiast or a professional, getting that smooth finish on a small surface can make a huge difference. In this blog, I'll share some tips and tricks on how to sand a small area with sandpaper abrasive like a pro.

1. Choose the Right Sandpaper Abrasive
The first step in sanding a small area precisely is to pick the right sandpaper. There are several types of abrasives out there, and each has its own unique properties.
- Coarse - Grit Sandpaper: If you're dealing with a surface that has a lot of rough spots, paint, or varnish that needs to be removed, start with a coarse - grit sandpaper. Coarse grits are usually in the range of 40 - 60. They can quickly take off the top layers of material, but they'll also leave deeper scratches on the surface.
- Medium - Grit Sandpaper: Once you've removed the bulk of the rough stuff with the coarse - grit sandpaper, it's time to switch to a medium - grit sandpaper. Medium grits range from 80 - 120. These will start to smooth out the scratches left by the coarse - grit paper and get the surface closer to the desired finish.
- Fine - Grit Sandpaper: For the final touches, use a fine - grit sandpaper. Fine grits are 150 - 220 and even higher. They'll give your surface that ultra - smooth finish.
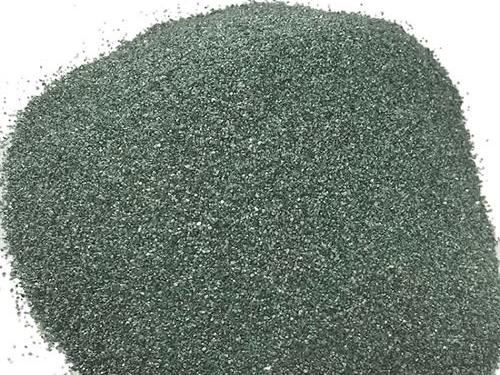
We also offer other types of abrasives on our website. Check out our Grinding Wheel Abrasive, Green Silicon Carbide Abrasive, and Black Silicon Carbide Abrasive for more specialized applications.
2. Prepare the Surface
Before you start sanding, you need to prepare the surface. This means cleaning it thoroughly to remove any dirt, dust, or grease. You can use a mild detergent and water to clean the surface, and then dry it completely.
If the surface has any loose paint or debris, use a scraper or a putty knife to remove it. This will prevent the sandpaper from clogging up too quickly and ensure a more even sanding process.
3. Use the Right Technique
Now, let's talk about the actual sanding technique. When sanding a small area, it's important to use a light touch. Pressing too hard can cause uneven sanding and might even damage the surface.
- Sand in One Direction: Start by sanding in one direction. This will help create a consistent finish. For example, if you're sanding a wooden surface, sand with the grain. This will give you a smoother result and prevent the wood fibers from splintering.
- Overlap Your Strokes: As you sand, make sure to overlap your strokes. This will ensure that you don't miss any spots and that the sanding is even across the entire area.
- Change the Sandpaper Regularly: Sandpaper can get clogged up with debris as you use it. When this happens, it becomes less effective. So, change the sandpaper regularly, especially if you notice that it's not cutting through the material as easily as it did at first.
4. Check Your Progress
Periodically stop sanding and check your progress. You can do this by running your hand over the surface. If you feel any rough spots or uneven areas, go back and sand them some more.
You can also use a magnifying glass to get a closer look at the surface. This will help you spot any small imperfections that might not be visible to the naked eye.
5. Finish with a Buff
Once you've achieved the desired smoothness with the sandpaper, you can finish the surface with a buff. Use a soft cloth or a buffing pad to polish the surface. This will give it a nice shine and make it look even more professional.
6. Safety First
Don't forget about safety when sanding. Wear a dust mask to protect your lungs from the dust that's created during the sanding process. Safety glasses are also a must to protect your eyes from flying debris.
Conclusion
Sanding a small area precisely might seem like a daunting task, but with the right sandpaper abrasive, proper preparation, and the right technique, it can be a breeze. Remember to choose the right grits, prepare the surface, use a light touch, and check your progress along the way.
If you're in the market for high - quality sandpaper abrasive or any of our other abrasives, we're here to help. We've got a wide range of products to suit your needs. Whether you're working on a small DIY project or a large - scale professional job, we've got you covered.
If you have any questions or want to discuss your specific requirements, don't hesitate to reach out. We're always happy to have a chat and help you find the best abrasive solutions for your project.
References
- "The Complete Guide to Sanding" by DIY Woodworking Magazine
- "Sanding Techniques for Beginners" by Home Improvement Today


